

How to Build a Telegram Bot in Golang

If you’re looking to create a powerful and interactive Telegram bot, you’re in the right place. In this step-by-step guide, we’ll walk you through the process of building a Telegram Bot in Golang. Telegram bots are versatile and can be used for various tasks, from providing information to automating tasks and engaging with users.
Prerequisites
Before we dive into the development process, let’s ensure you have everything you need:
- A Telegram account.
- Go (Golang) installed on your computer.
- A Telegram bot token obtained by creating a bot with the BotFather on Telegram.
Setting up Your Development Environment
Let’s get started by setting up your Go development environment:
- Install Go: If you haven’t already, download and install Go from the official website: https://golang.org/dl/.
- Create a Project Folder: Organize your work by creating a dedicated project folder for your Telegram bot.
Installing Dependencies
To interact with the Telegram Bot API in Go, we’ll need the github.com/go-telegram-bot-api/telegram-bot-api package. Let’s install it using go get:
go get github.com/go-telegram-bot-api/telegram-bot-api
Writing Your Telegram Bot Code
Now, let’s start building your Telegram bot. Create a Go file (e.g., main.go) and follow these steps:
Authenticating Your Bot
To interact with the Telegram API, you need to authenticate your bot using the API token obtained from the BotFather:
package main

import (
	"log"
	"github.com/go-telegram-bot-api/telegram-bot-api"
)

func main() {
	// Initialize the bot with your API token
	bot, err := tgbotapi.NewBotAPI("YOUR_API_TOKEN")
	if err != nil {
		log.Fatal(err)
	}

	// ...
}
Make sure to replace "YOUR_API_TOKEN" with the actual token you received during bot creation.
Handling Incoming Updates
	// ...

	// Set up an update configuration
	u := tgbotapi.NewUpdate(0)
	u.Timeout = 60

	// Get updates from the Telegram API
	updates, err := bot.GetUpdatesChan(u)

	// Process incoming updates
	for update := range updates {
		if update.Message == nil {
			continue
		}

		// ...
	}
}
Responding to User Commands
	// ...

	// Process incoming updates
	for update := range updates {
		if update.Message == nil {
			continue
		}

		// Respond to a specific command (e.g., /hello)
		if update.Message.IsCommand() {
			command := update.Message.Command()
			switch command {
			case "start":
				msg := tgbotapi.NewMessage(update.Message.Chat.ID, "Welcome to the Telegram Bot! You have started the bot. You can also say /hello to greet me.")
				_, err := bot.Send(msg)
				if err != nil {
					log.Println(err)
				}
			case "hello":
				msg := tgbotapi.NewMessage(update.Message.Chat.ID, "Hello, I'm your Telegram bot! You said hello.")
				_, err := bot.Send(msg)
				if err != nil {
					log.Println(err)
				}
			}
		}
	}
}
In this example, the bot responds to the /hello command with a friendly greeting. You can expand upon this logic to handle various user interactions.
Running Your Telegram Bot
To run your Telegram bot, open your terminal, navigate to your project folder, and execute:
go run main.go
Your bot is now up and running, ready to respond to commands and messages from users.
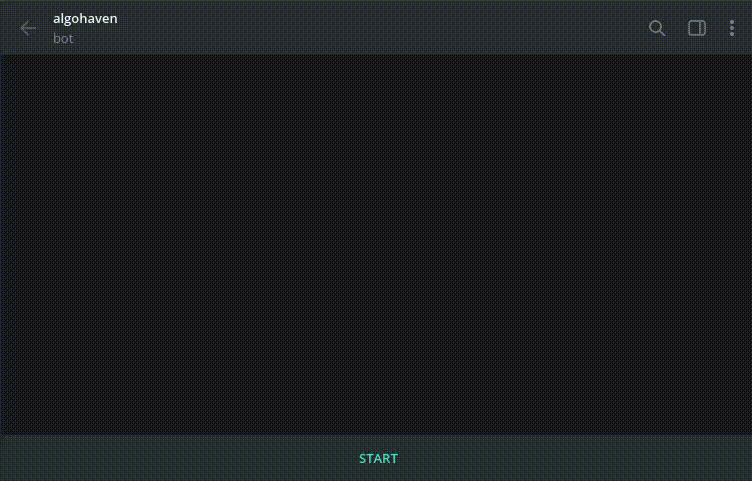
Result
Deploying Your Bot (Optional)
If you want your bot to be available 24/7, consider deploying it to a server or a cloud platform of your choice, such as Railway, AWS, or Google Cloud.
Bot Maintenance As your Telegram bot interacts with users, it’s essential to monitor its performance, handle any errors or issues, and keep your bot’s codebase updated and secure.
Source Code (Github Repository) To access the complete code of this project, you can visit my GitHub repository (Telebot). Furthermore, it’s configured and ready for deployment on Railway.
Conclusion
Congratulations! You’ve successfully built your own Telegram Bot in Golang. Telegram bots are versatile tools that can be used for a wide range of applications, from providing information and automating tasks to engaging with users in creative ways. Now, it’s time to explore the endless possibilities and customize your bot to suit your specific needs. Happy bot building!
Categorized in: